TensorFlow within MLflow
TensorFlow is a powerful end-to-end open source platform for machine learning that has revolutionized how developers build and deploy ML solutions. With its comprehensive ecosystem of tools and libraries, TensorFlow empowers everyone from beginners to experts to create sophisticated models for diverse applications.
TensorFlow's Keras API provides an intuitive interface for building and training deep learning models, while its powerful backend enables efficient computation on CPUs, GPUs, and TPUs.
Why TensorFlow Leads the Industry
Complete ML Ecosystem
- 🏗️ Production-Ready: End-to-end platform from experimentation to deployment
- 📱 Multi-Platform Deployment: Run models on browsers, mobile devices, edge hardware, and servers
- 🔬 Research Flexibility: High-level and low-level APIs for both beginners and experts
- 📊 TensorBoard Integration: Rich visualization of model architecture and training metrics
Powerful Core Features
- ⚡ Graph Execution: Optimized execution for maximum performance
- 🔄 Eager Execution: Immediate evaluation for intuitive debugging
- 🧩 Modular Design: Customize any part of your ML pipeline
- 🌐 Global Community: Extensive resources, tutorials, and pre-trained models
Why MLflow + TensorFlow?
The integration of MLflow with TensorFlow creates a powerful workflow for machine learning practitioners:
- 📊 One-Line Autologging: Enable comprehensive tracking with just
mlflow.tensorflow.autolog() - ⚙️ Zero-Code Integration: Your existing TensorFlow training code works unchanged
- 🔄 Complete Reproducibility: Every parameter, metric, and model is captured automatically
- 📈 Training Visualization: Monitor performance through the MLflow UI
- 👥 Collaborative Development: Share experiments and results with team members
- 🚀 Streamlined Deployment: Package models for deployment across different environments
Autologging TensorFlow Experiments
MLflow can automatically log metrics, parameters, and models from your TensorFlow training runs. Simply call mlflow.tensorflow.autolog() or mlflow.autolog() before your training code:
import mlflow
import numpy as np
import tensorflow as tf
from tensorflow import keras

# Enable autologging
mlflow.tensorflow.autolog()

# Prepare sample data
data = np.random.uniform(size=[20, 28, 28, 3])
label = np.random.randint(2, size=20)

# Define model
model = keras.Sequential(
    [
        keras.Input([28, 28, 3]),
        keras.layers.Conv2D(8, 2),
        keras.layers.MaxPool2D(2),
        keras.layers.Flatten(),
        keras.layers.Dense(2),
        keras.layers.Softmax(),
    ]
)

model.compile(
    loss=keras.losses.SparseCategoricalCrossentropy(),
    optimizer=keras.optimizers.Adam(0.001),
    metrics=[keras.metrics.SparseCategoricalAccuracy()],
)

# Training with automatic logging
with mlflow.start_run():
    model.fit(data, label, batch_size=5, epochs=2)
Autologging Requirements and Limitations
Requirements
- ✅ TensorFlow Version: Only TensorFlow >= 2.3.0 is supported
- ✅ Training API: Must use the
model.fit()Keras API - ✅ Run Context: Works both with and without an active MLflow run
Limitations
- ❌ Custom Training Loops: Not supported (use manual logging instead)
- ❌ Older TensorFlow Versions: Not supported (use manual logging instead)
- ❌ Non-Keras TensorFlow: Not supported (use manual logging instead)
Autologging is only supported when you are using the model.fit() Keras API to train
the model. Additionally, only TensorFlow >= 2.3.0 is supported. If you are using an older version
of TensorFlow or TensorFlow without Keras, please use manual logging.
What Gets Automatically Logged
Comprehensive Autologging Details
Model Information
- 📋 Model Summary: Complete architecture overview as returned by
model.summary() - 🧩 Layer Configuration: Details of each layer in the model
- 📐 Parameter Count: Total number of trainable and non-trainable parameters
Training Parameters
- ⚙️ Batch Size: Number of samples per gradient update
- 🔢 Epochs: Number of complete passes through the training dataset
- 🧮 Steps Per Epoch: Number of batch iterations per epoch
- 📏 Validation Steps: Number of batch iterations for validation
Optimizer Configuration
- 🧠 Optimizer Name: Type of optimizer used (Adam, SGD, etc.)
- 📉 Learning Rate: Step size for gradient updates
- 🎯 Epsilon: Small constant for numerical stability
- 🔄 Other Optimizer Parameters: Beta values, momentum, etc.
Dataset Information
- 📊 Dataset Shape: Input and output dimensions
- 🔢 Sample Count: Number of training and validation samples
Training Metrics
- 📉 Training Loss: Loss value for each epoch
- 📈 Validation Loss: Loss on validation data
- 🎯 Custom Metrics: Any metrics specified in
model.compile() - 🔄 Early Stopping Metrics:
stopped_epoch,restored_epoch, etc.
Artifacts
- 🤖 Saved Model: Complete model in TensorFlow SavedModel format
- 📊 TensorBoard Logs: Training and validation metrics
You can customize autologging behavior by passing arguments to mlflow.tensorflow.autolog():
mlflow.tensorflow.autolog(
    log_models=True,
    log_input_examples=True,
    log_model_signatures=True,
    log_every_n_steps=1,
)
How TensorFlow Autologging Works
MLflow's TensorFlow autologging uses a custom Keras callback attached to your model via monkey patching. This callback:
- Captures Initial State: At training start, logs model architecture, hyperparameters, and optimizer settings
- Monitors Training: Tracks metrics at each epoch or at specified intervals
- Records Completion: Saves the final trained model when training completes
This approach integrates seamlessly with TensorFlow's existing callback system, ensuring compatibility with your other callbacks like early stopping or learning rate scheduling.
Logging to MLflow with Keras Callback
For more control over what gets logged, you can use MLflow's built-in Keras callback or create your own custom callback.
Using the Predefined Callback
MLflow provides mlflow.tensorflow.MlflowCallback that offers the same functionality as autologging but with more explicit control:
import mlflow
from tensorflow import keras

# Define and compile your model
model = keras.Sequential([...])
model.compile(...)

# Create an MLflow run and add the callback
with mlflow.start_run() as run:
    model.fit(
        data,
        labels,
        batch_size=32,
        epochs=10,
        callbacks=[mlflow.tensorflow.MlflowCallback(run)],
    )
Callback Configuration Options
The MlflowCallback accepts several parameters to customize logging behavior:
mlflow.tensorflow.MlflowCallback(
    log_every_epoch=True,  # Log metrics at the end of each epoch
    log_every_n_steps=None,  # Log metrics every N steps (overrides log_every_epoch)
)
- Epoch-based Logging: Set
log_every_epoch=True(default) to log at the end of each epoch - Batch-based Logging: Set
log_every_n_steps=Nto log every N batches - Selective Model Logging: Set
log_models=Falseto disable model saving
Customizing MLflow Logging
You can create your own callback by subclassing keras.callbacks.Callback to implement custom logging logic:
from tensorflow import keras
import math
import mlflow


class CustomMlflowCallback(keras.callbacks.Callback):
    def on_epoch_begin(self, epoch, logs=None):
        mlflow.log_metric("current_epoch", epoch)

    def on_epoch_end(self, epoch, logs=None):
        logs = logs or {}
        # Log metrics in log scale
        for k, v in logs.items():
            if v > 0:  # Avoid log(0) or log(negative)
                mlflow.log_metric(f"log_{k}", math.log(v), step=epoch)
            mlflow.log_metric(k, v, step=epoch)

    def on_train_end(self, logs=None):
        # Log final model weights statistics
        weights = self.model.get_weights()
        mlflow.log_metric("total_parameters", sum(w.size for w in weights))
        mlflow.log_metric(
            "average_weight",
            sum(w.sum() for w in weights) / sum(w.size for w in weights),
        )
Keras Callback Lifecycle Hooks
Keras callbacks provide various hooks into the training process:
- Training Setup:
on_train_begin,on_train_end - Epoch Progress:
on_epoch_begin,on_epoch_end - Batch Progress:
on_batch_begin,on_batch_end - Validation:
on_test_begin,on_test_end - Prediction:
on_predict_begin,on_predict_end
The logs dictionary passed to these methods contains metrics like:
loss: Training lossval_loss: Validation loss- Any custom metrics defined in
model.compile()
For full documentation, see keras.callbacks.Callback.
Saving Your TensorFlow Model to MLflow
Basic Model Saving
If you haven't enabled autologging (which saves models automatically), you can manually save your TensorFlow model using mlflow.tensorflow.log_model():
import mlflow
import tensorflow as tf
from tensorflow import keras

# Define model
model = keras.Sequential(
    [
        keras.Input([28, 28, 3]),
        keras.layers.Conv2D(8, 2),
        keras.layers.MaxPool2D(2),
        keras.layers.Flatten(),
        keras.layers.Dense(2),
        keras.layers.Softmax(),
    ]
)

# Train model (code omitted for brevity)

# Log the model to MLflow
model_info = mlflow.tensorflow.log_model(model, name="model")

# Later, load the model for inference
loaded_model = mlflow.tensorflow.load_model(model_info.model_uri)
predictions = loaded_model.predict(tf.random.uniform([1, 28, 28, 3]))
Understanding MLflow Model Saving
When you save a TensorFlow model with MLflow:
- Format Conversion: The model is converted to a generic MLflow
pyfuncmodel to support deployment, loaded viamlflow.pyfunc.load_model() - Preservation of Original Format: The model is still capable of being loaded as a native TensorFlow object via
mlflow.tensorflow.load_model() - Metadata Creation: Model metadata is stored, including dependencies and signature
- Artifact Storage: The model is saved to the MLflow artifact store
- Loading Capability: The model can be loaded back as either a native TensorFlow model or a generic
pyfuncmodel
This approach enables consistent model management regardless of the framework used.
Model Formats
By default, MLflow saves TensorFlow models in the TensorFlow SavedModel format (compiled graph), which is ideal for deployment. You can also save in other formats:
# Save in H5 format (weights only)
mlflow.tensorflow.log_model(
    model, name="model", keras_model_kwargs={"save_format": "h5"}
)

# Save in native Keras format
mlflow.tensorflow.log_model(
    model, name="model", keras_model_kwargs={"save_format": "keras"}
)
Comparing Model Formats
TensorFlow SavedModel (Default)
- ✅ Complete Serialization: Includes model architecture, weights, and compilation information
- ✅ Deployment Ready: Optimized for production environments
- ✅ TensorFlow Serving: Compatible with TensorFlow Serving
- ✅ Cross-Platform: Can be deployed across different platforms
H5 Format
- ✅ Weights Storage: Efficiently stores model weights
- ✅ Smaller Size: Generally smaller than SavedModel format
- ❌ Limited Information: Doesn't include the full computation graph
- ❌ Deployment Limitations: Not ideal for certain deployment scenarios
Keras Format
- ✅ Native Keras: Uses Keras' native serialization
- ✅ Compatibility: Works well with newer Keras versions
- ❌ Deployment: May require additional steps for deployment
For most production use cases, the default SavedModel format is recommended. For more details, see TensorFlow Save and Load Guide.
Model Signatures
A model signature describes the expected input and output formats of your model. While optional, it's a best practice for better model understanding and validation. The easiest way to add a signature is using automatic inference:
import mlflow
from mlflow.models import infer_signature
import tensorflow as tf
import numpy as np

# Sample input data
sample_input = np.random.uniform(size=[2, 28, 28, 3])

# Get predictions
sample_output = model.predict(sample_input)

# Infer signature from data
signature = infer_signature(sample_input, sample_output)

# Log model with inferred signature
model_info = mlflow.tensorflow.log_model(model, name="model", signature=signature)
When autologging is enabled with log_input_examples=True and log_model_signatures=True, MLflow automatically infers and logs the signature from your training data.
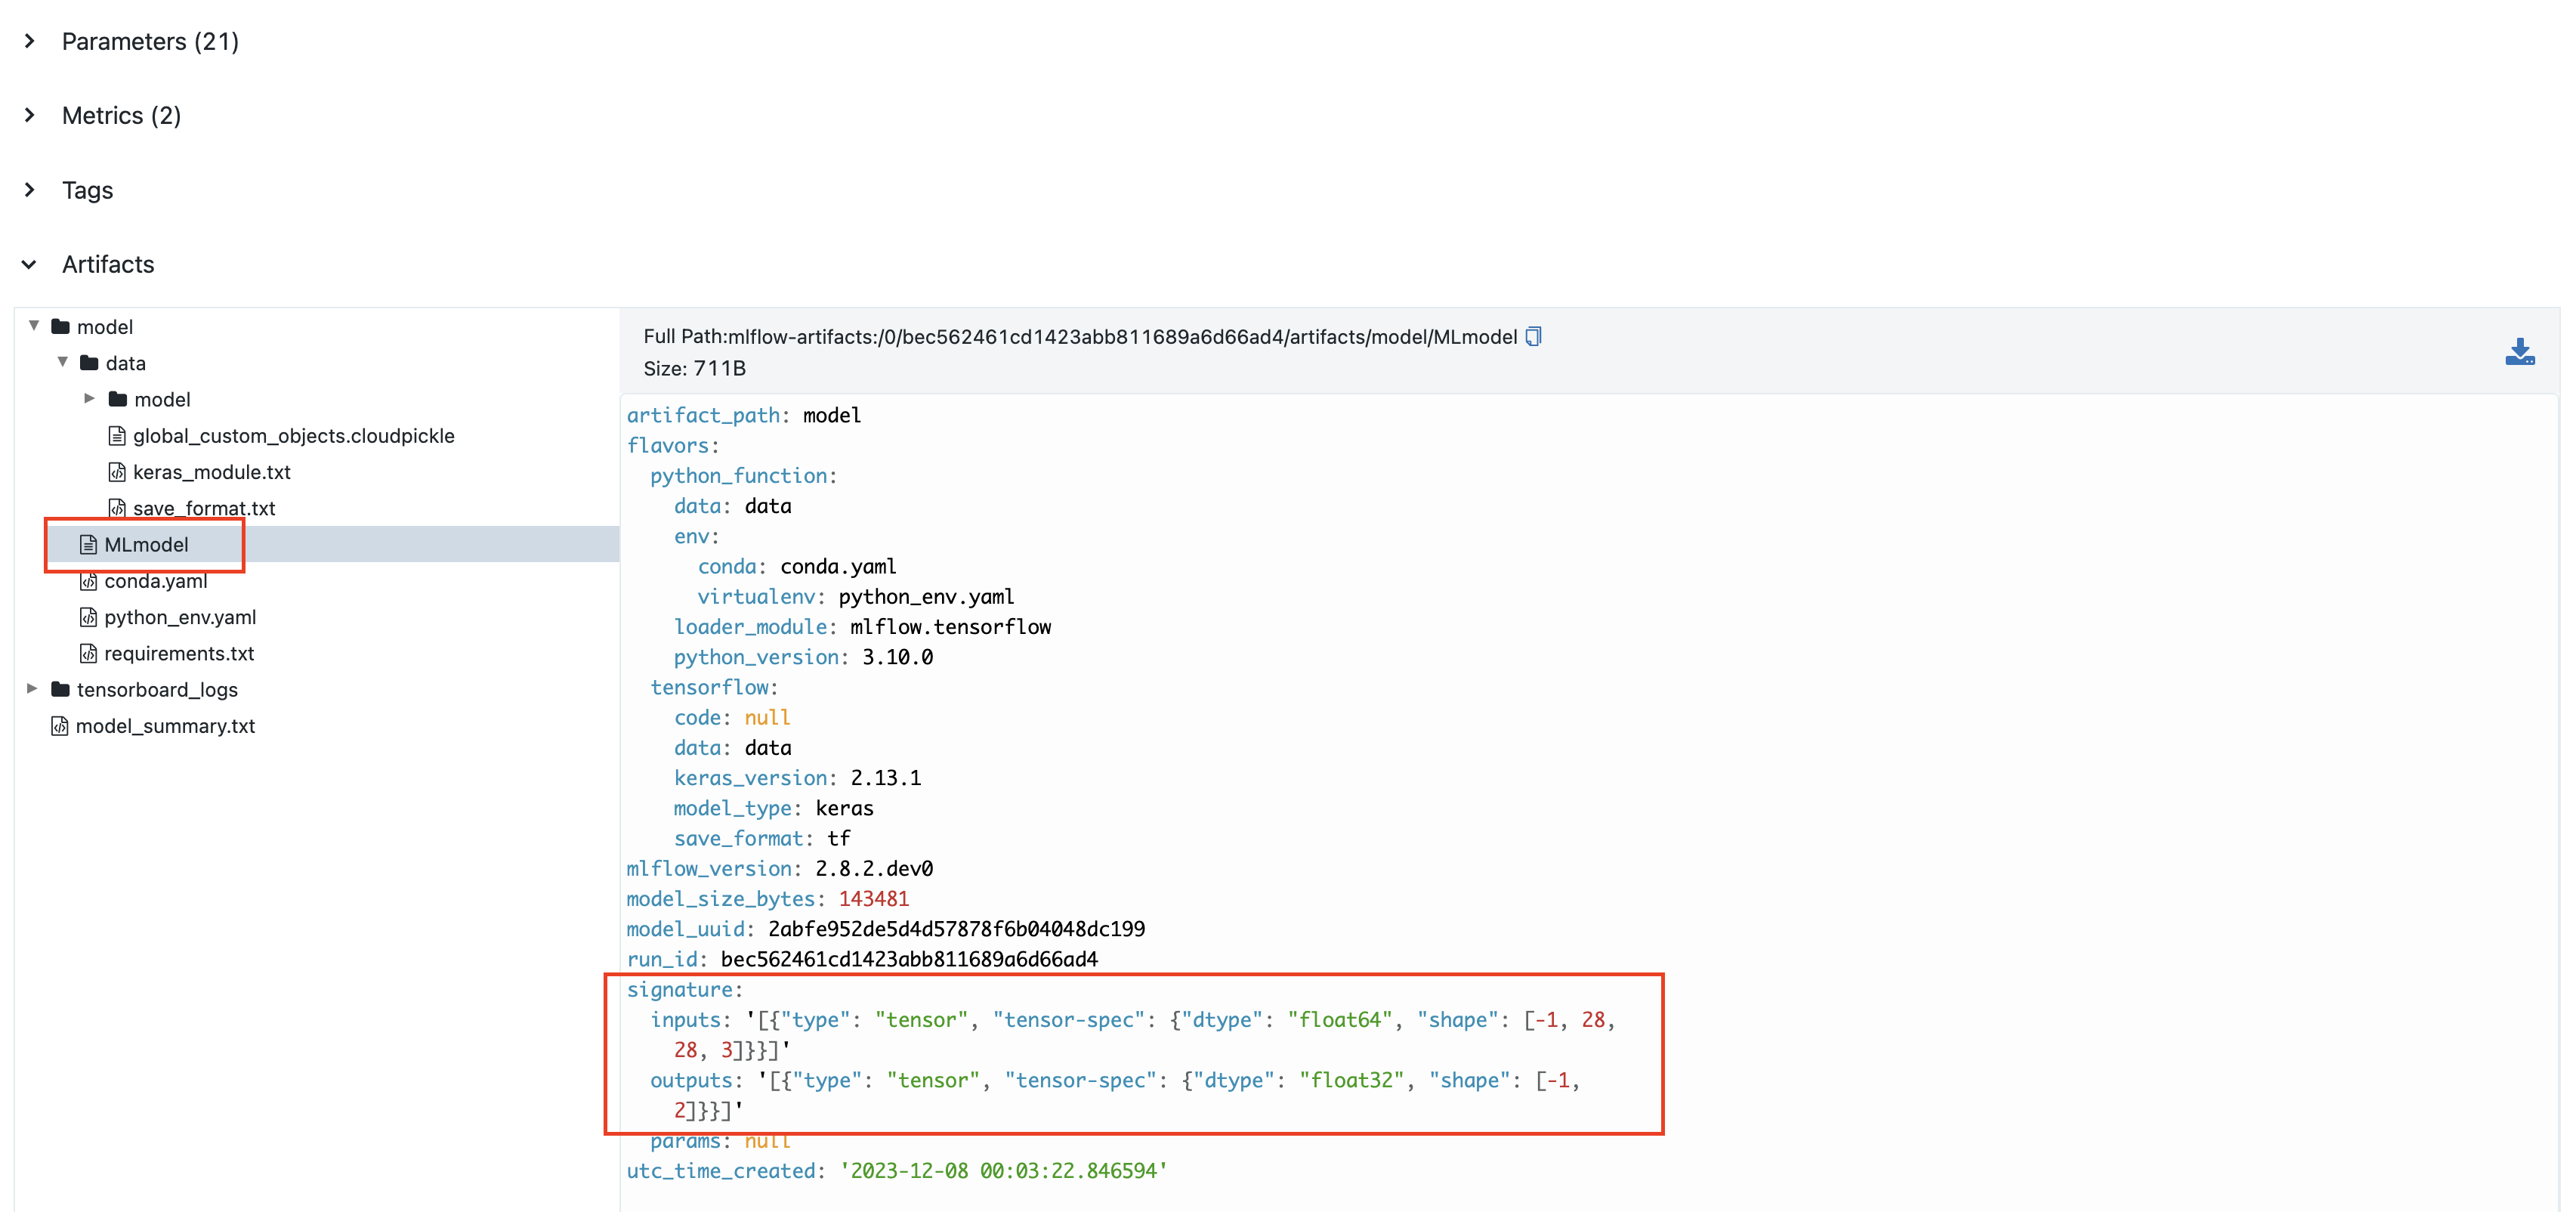
The signature appears in the MLflow UI:
Manual Signature Definition
For complete control over your model signature, you can manually define the input and output schemas:
import mlflow
import tensorflow as tf
import numpy as np
from tensorflow import keras
from mlflow.types import Schema, TensorSpec
from mlflow.models import ModelSignature

# Define model
model = keras.Sequential(
    [
        keras.Input([28, 28, 3]),
        keras.layers.Conv2D(8, 2),
        keras.layers.MaxPool2D(2),
        keras.layers.Flatten(),
        keras.layers.Dense(2),
        keras.layers.Softmax(),
    ]
)

# Define input schema
input_schema = Schema(
    [
        TensorSpec(np.dtype(np.float32), (-1, 28, 28, 3), "input"),
    ]
)

# Create signature with input schema
signature = ModelSignature(inputs=input_schema)

# Log model with signature
model_info = mlflow.tensorflow.log_model(model, name="model", signature=signature)
Manual definition is useful when:
- You need precise control over tensor specifications
- Working with complex input/output structures
- The automatic inference doesn't capture your intended schema
- You want to specify exact data types and shapes upfront
Advanced TensorFlow Integration
Complex Model Tracking
For more sophisticated models, you might want to track additional information:
Tracking Transfer Learning
import mlflow
import tensorflow as tf
import matplotlib.pyplot as plt

# Load pre-trained model
base_model = tf.keras.applications.MobileNetV2(
    input_shape=(224, 224, 3), include_top=False, weights="imagenet"
)

# Freeze base model
base_model.trainable = False

# Create new model head
inputs = tf.keras.Input(shape=(224, 224, 3))
x = base_model(inputs, training=False)
x = tf.keras.layers.GlobalAveragePooling2D()(x)
x = tf.keras.layers.Dense(256, activation="relu")(x)
outputs = tf.keras.layers.Dense(10, activation="softmax")(x)
model = tf.keras.Model(inputs, outputs)

with mlflow.start_run() as run:
    # Log base model information
    mlflow.log_param("base_model", "MobileNetV2")
    mlflow.log_param("base_model_trainable", False)
    mlflow.log_param("new_layers", "GlobalAveragePooling2D, Dense(256), Dense(10)")

    # Log base model summary
    with open("base_model_summary.txt", "w") as f:
        base_model.summary(print_fn=lambda x: f.write(x + "\n"))
    mlflow.log_artifact("base_model_summary.txt")

    # Log model visualization
    tf.keras.utils.plot_model(model, to_file="model_architecture.png", show_shapes=True)
    mlflow.log_artifact("model_architecture.png")

    # Continue with normal training...
Tracking Multi-Model Experiments
import mlflow

# Main experiment run
with mlflow.start_run(run_name="ensemble_experiment") as parent_run:
    mlflow.log_param("experiment_type", "ensemble")

    # Train first model
    with mlflow.start_run(run_name="model_1", nested=True) as child_run_1:
        model_1 = create_model_1()
        # Train model_1
        mlflow.tensorflow.log_model(model_1, name="model_1")
        mlflow.log_metric("accuracy", accuracy_1)

    # Train second model
    with mlflow.start_run(run_name="model_2", nested=True) as child_run_2:
        model_2 = create_model_2()
        # Train model_2
        mlflow.tensorflow.log_model(model_2, name="model_2")
        mlflow.log_metric("accuracy", accuracy_2)

    # Create and log ensemble model
    ensemble_model = create_ensemble([model_1, model_2])
    mlflow.tensorflow.log_model(ensemble_model, name="ensemble_model")
    mlflow.log_metric("ensemble_accuracy", ensemble_accuracy)
Hyperparameter Optimization
Combine TensorFlow with hyperparameter tuning tools while tracking everything in MLflow:
import mlflow
import tensorflow as tf
from tensorflow import keras
import optuna


def create_model(trial):
    # Define hyperparameters to tune
    learning_rate = trial.suggest_float("learning_rate", 1e-5, 1e-1, log=True)
    units = trial.suggest_int("units", 32, 512)
    dropout = trial.suggest_float("dropout", 0.1, 0.5)

    # Create model with suggested hyperparameters
    model = keras.Sequential(
        [
            keras.layers.Input(shape=(28, 28, 3)),
            keras.layers.Flatten(),
            keras.layers.Dense(units, activation="relu"),
            keras.layers.Dropout(dropout),
            keras.layers.Dense(10, activation="softmax"),
        ]
    )

    model.compile(
        optimizer=keras.optimizers.Adam(learning_rate=learning_rate),
        loss="sparse_categorical_crossentropy",
        metrics=["accuracy"],
    )

    return model


def objective(trial):
    # Start nested run for this trial
    with mlflow.start_run(nested=True):
        # Log hyperparameters
        params = {
            "learning_rate": trial.params["learning_rate"],
            "units": trial.params["units"],
            "dropout": trial.params["dropout"],
        }
        mlflow.log_params(params)

        # Create and train model
        model = create_model(trial)
        history = model.fit(
            x_train, y_train, validation_data=(x_val, y_val), epochs=5, verbose=0
        )

        # Get validation accuracy
        val_accuracy = max(history.history["val_accuracy"])
        mlflow.log_metric("val_accuracy", val_accuracy)

        # Log model
        mlflow.tensorflow.log_model(model, name="model")

        return val_accuracy


# Main experiment run
with mlflow.start_run(run_name="hyperparameter_optimization"):
    # Log study parameters
    mlflow.log_params(
        {
            "optimization_framework": "optuna",
            "n_trials": 20,
            "direction": "maximize",
            "metric": "val_accuracy",
        }
    )

    # Create and run study
    study = optuna.create_study(direction="maximize")
    study.optimize(objective, n_trials=20)

    # Log best parameters and score
    mlflow.log_params({f"best_{k}": v for k, v in study.best_params.items()})
    mlflow.log_metric("best_val_accuracy", study.best_value)

    # Train final model with best parameters
    final_model = create_model(study.best_trial)
    final_model.fit(x_train, y_train, epochs=10)
    mlflow.tensorflow.log_model(final_model, name="best_model")
Deployment Preparation
Once you've trained and logged your TensorFlow model with MLflow, deploying it locally is straightforward with a single command using the MLflow CLI:
mlflow models serve -m models:/<model_id> -p 5000
Test your deployed model:
import requests
import json

# Prepare test data
test_data = {"inputs": sample_input.numpy().tolist()}

# Make prediction request
response = requests.post(
    "http://localhost:5000/invocations",
    data=json.dumps(test_data),
    headers={"Content-Type": "application/json"},
)

predictions = response.json()
print("Predictions:", predictions)
Advanced Deployment Options
The mlflow models serve command supports several options for customization:
# Specify environment manager
mlflow models serve -m models:/<model_id> -p 5000 --env-manager conda

# Enable MLServer for enhanced inference capabilities
mlflow models serve -m models:/<model_id> -p 5000 --enable-mlserver

# Set custom host
mlflow models serve -m models:/<model_id> -p 5000 --host 0.0.0.0
For production deployments, consider:
- Using MLServer (
--enable-mlserver) for better performance and additional features - Building Docker images with
mlflow models build-docker - Deploying to cloud platforms like Azure ML or Amazon SageMaker
- Setting up proper environment management and dependency isolation
Real-World Applications
The MLflow-TensorFlow integration excels in scenarios such as:
- 🖼️ Computer Vision: Track CNN architectures, data augmentation strategies, and training dynamics for image classification, object detection, and segmentation
- 📝 Natural Language Processing: Monitor transformer models, embeddings, and fine-tuning for language understanding, translation, and generation
- 📊 Time Series Analysis: Log RNN and LSTM models for forecasting, anomaly detection, and sequence prediction
- 🏭 Production ML Systems: Version models from development to deployment with complete lineage tracking
- 🎓 Educational Projects: Document learning progression from simple to complex models
- 🧪 Experimental Research: Compare novel architectures and training techniques with established baselines
Conclusion
The MLflow-TensorFlow integration provides a comprehensive solution for tracking, managing, and deploying machine learning experiments. By combining TensorFlow's powerful computation capabilities with MLflow's experiment tracking, you create a workflow that is:
- 🔍 Transparent: Every aspect of model training is documented
- 🔄 Reproducible: Experiments can be recreated exactly
- 📊 Comparable: Different approaches can be evaluated side-by-side
- 📈 Scalable: From simple prototypes to complex production models
- 👥 Collaborative: Team members can share and build upon each other's work
Whether you're a researcher exploring new model architectures or an engineer deploying models to production, the MLflow-TensorFlow integration provides the foundation for organized, reproducible, and scalable machine learning development.