Tracing Quickstart
This quickstart guide will walk you through setting up a simple GenAI application with MLflow Tracing. In less than 10 minutes, you'll enable tracing, run a basic application, and explore the generated traces in the MLflow UI.
Prerequisites
This guide requires the following packages:
- mlflow>=3.1: Core MLflow functionality with GenAI features
- openai>=1.0.0: For OpenAI API integration
Install the required packages:
pip install --upgrade "mlflow" openai>=1.0.0
Tracing features are available in MLflow 2.15.0+, though some advanced features may be limited compared to MLflow 3. It is highly advised to upgrade to MLflow 3 to get the benefits of tracing features that have been greatly improved.
Step 1: Set up your environment
- Local MLflow
- Remote MLflow Server
- Databricks
For the fastest setup, you can run MLflow locally:
# Start MLflow tracking server locally
mlflow ui

# This will start the server at http://127.0.0.1:5000
If you have a remote MLflow tracking server, configure the connection:
import os
import mlflow

# Set your MLflow tracking URI
os.environ["MLFLOW_TRACKING_URI"] = "http://your-mlflow-server:5000"
# Or directly in code
mlflow.set_tracking_uri("http://your-mlflow-server:5000")
If you have a Databricks account, configure the connection:
import mlflow

mlflow.login()
This will prompt you for your configuration details (Databricks Host url and a PAT).
Configure OpenAI API Key
Set your OpenAI API key as an environment variable:
import os

# Set your OpenAI API key
os.environ["OPENAI_API_KEY"] = "your-api-key-here"  # Replace with your actual API key
You can also set the environment variable in your shell before running the script:
export OPENAI_API_KEY="your-api-key-here"
export MLFLOW_TRACKING_URI="http://your-mlflow-server:5000"  # Optional: for remote server, set as 'databricks' if connecting to a Databricks account
Step 2: Create a simple application with tracing
import mlflow
import openai
from openai import OpenAI
import os

# Set up MLflow experiment
mlflow.set_experiment("openai-tracing-quickstart")

# Enable automatic tracing for all OpenAI API calls
mlflow.openai.autolog()

client = OpenAI()


def get_weather_response(location):
    """Get a weather-related response for a given location."""
    response = client.chat.completions.create(
        model="gpt-4o-mini",
        messages=[
            {"role": "system", "content": "You are a helpful weather assistant."},
            {"role": "user", "content": f"What's the weather like in {location}?"},
        ],
        max_tokens=100,
        temperature=0.7,
    )
    return response.choices[0].message.content


# Execute the traced function
location = "San Francisco"
response = get_weather_response(location)

print(f"Query: What's the weather like in {location}?")
print(f"Response: {response}")
print("\nTraces have been captured!")
print(
    "View them in the MLflow UI at: http://127.0.0.1:5000 (or your MLflow server URL)"
)
Step 3: Run the application
- In a Jupyter Notebook
- As a Python Script
Simply run the code cell above. You should see output similar to:
Query: What's the weather like in San Francisco?
Response: I don't have real-time weather data, but San Francisco typically has mild temperatures year-round...
Traces have been captured!
View them in the MLflow UI at: http://127.0.0.1:5000
If you're using Jupyter with MLflow 2.20+, the trace UI will automatically display in your notebook when traces are generated!
- Save the code above to a file named
weather_app.py - Run the script:
python weather_app.py
You should see output similar to:
Query: What's the weather like in San Francisco?
Response: I don't have real-time weather data, but San Francisco typically has mild temperatures year-round...
Traces have been captured!
View them in the MLflow UI at: http://127.0.0.1:5000
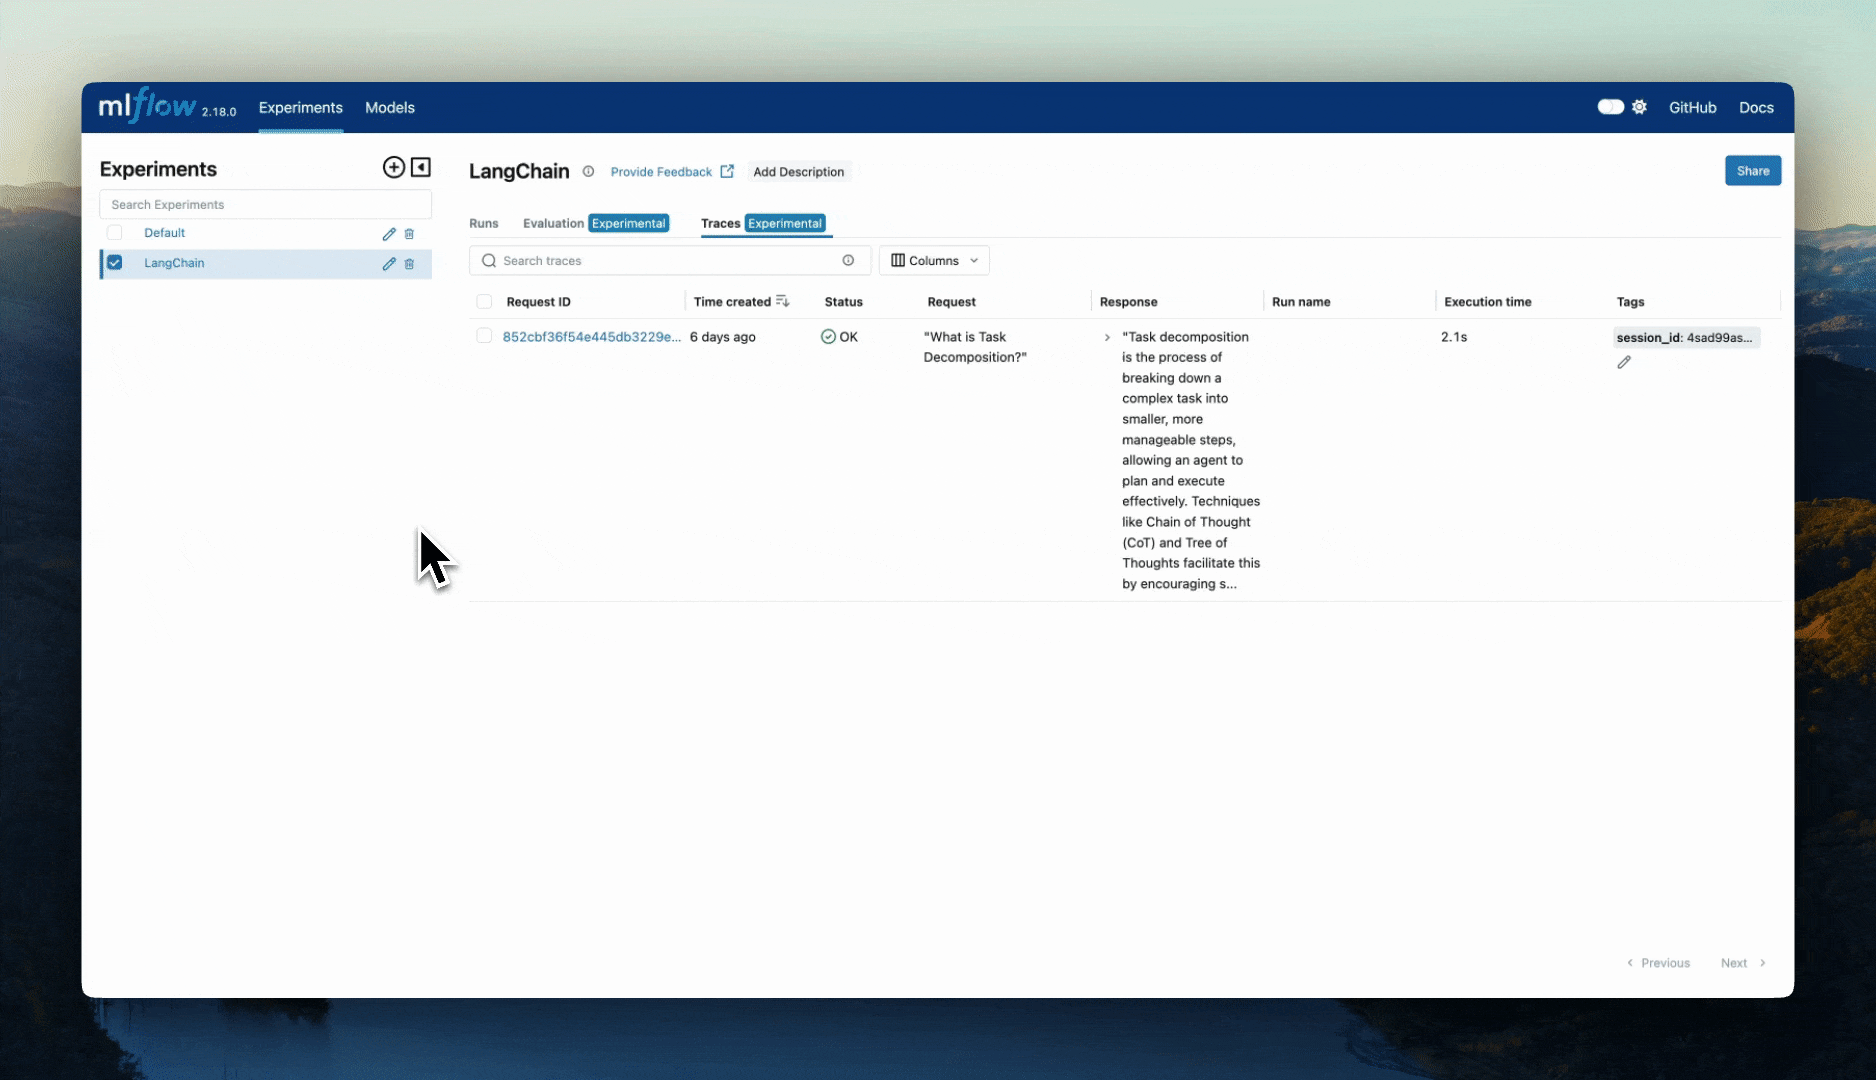
Step 4: Explore traces in the MLflow UI
-
Open the MLflow UI by navigating to http://127.0.0.1:5000 (or your MLflow server URL)
-
Click on the "openai-tracing-quickstart" experiment from the experiments list
-
Click on the "Traces" tab to view all captured traces from your OpenAI API calls
-
Click on any individual trace to open the detailed trace view
-
Explore the trace details including input messages, system prompts, model parameters (temperature, max_tokens, etc.), output responses, execution time, token usage, and the complete request/response flow
Step 5: Add custom tracing (Optional)
Enhance your application with custom tracing for better observability:
import mlflow
from openai import OpenAI

mlflow.set_experiment("enhanced-weather-app")
mlflow.openai.autolog()

client = OpenAI()


@mlflow.trace
def preprocess_location(location):
    """Preprocess the location input."""
    # Add custom span for preprocessing
    cleaned_location = location.strip().title()
    return cleaned_location


@mlflow.trace
def get_enhanced_weather_response(location):
    """Enhanced weather response with preprocessing and custom metadata."""

    # Add tags for better organization
    mlflow.update_current_trace(
        tags={
            "location": location,
            "app_version": "1.0.0",
            "request_type": "weather_query",
        }
    )

    # Preprocess input
    cleaned_location = preprocess_location(location)

    # Make OpenAI call (automatically traced)
    response = client.chat.completions.create(
        model="gpt-4o-mini",
        messages=[
            {"role": "system", "content": "You are a helpful weather assistant."},
            {
                "role": "user",
                "content": f"What's the weather like in {cleaned_location}?",
            },
        ],
        max_tokens=150,
        temperature=0.7,
    )

    result = response.choices[0].message.content

    # Add custom attributes
    mlflow.update_current_trace(
        tags={
            "response_length": len(result),
            "cleaned_location": cleaned_location,
        }
    )

    return result


# Test the enhanced function
locations = ["san francisco", "  New York  ", "tokyo"]

for location in locations:
    print(f"\n--- Processing: {location} ---")
    response = get_enhanced_weather_response(location)
    print(f"Response: {response[:100]}...")

print("\nEnhanced traces captured! Check the MLflow UI for detailed trace information.")
Next Steps
Now that you have basic tracing working, explore these advanced features:
-
Search and Filter Traces Learn how to find specific traces using the search functionality.
-
Add Tags and Context Organize your traces with custom tags for better monitoring.
-
Production Deployment Set up production monitoring with the lightweight SDK.
-
Integration with Other Libraries Explore automatic tracing for LangChain, LlamaIndex, and more.
-
Manual Instrumentation Learn manual tracing techniques for custom applications.
Troubleshooting
Common Issues
Traces not appearing in UI:
- Verify MLflow server is running and accessible
- Check that
MLFLOW_TRACKING_URIis set correctly - Ensure experiment exists (MLflow creates it automatically if it doesn't)
OpenAI API errors:
- Verify your
OPENAI_API_KEYis set correctly - Check that you have API credits available
- Ensure the model name (
gpt-4o-mini) is correct and accessible
MLflow server not starting:
- Check if port 5000 is already in use:
lsof -i :5000 - Try a different port:
mlflow ui --port 5001 - Verify MLflow installation:
mlflow --version
Summary
Congratulations! You've successfully:
- ✅ Set up MLflow Tracing for a GenAI application
- ✅ Enabled automatic tracing for OpenAI API calls
- ✅ Generated and explored traces in the MLflow UI
- ✅ Learned how to add custom tracing and metadata
MLflow Tracing provides powerful observability for your GenAI applications, helping you monitor performance, debug issues, and understand user interactions. Continue exploring the advanced features to get the most out of your tracing setup!