Explore the Registered Model
Now that we’ve logged an experiment and registered the model associated with that experiment run, let’s observe how this information is actually stored both in the MLflow UI and in our local directory. Note that we can also get this information programmatically, but for explanatory purposes we’ll use the MLflow UI.
Step 1: Explore the mlruns Directory
Given that we’re using our local filesystem as our tracking server and model registry, let’s observe the directory structure created when running the python script in the prior step.
Before diving in, it’s import to note that MLflow is designed to abstract complexity from the user and this directory structure is just for illustration purposes. Furthermore, on remote deployments, which is recommended for production use cases, the tracking server will be on object store (S3, ADLS, GCS, etc.) and the model registry will be on a relational database (PostgreSQL, MySQL, etc.).
mlruns/
├── 0/                                    # Experiment ID
│   ├── bc6dc2a4f38d47b4b0c99d154bbc77ad/ # Run ID
│   │   ├── metrics/
│   │   │   └── mse                       # Example metric file for mean squared error
│   │   ├── artifacts/                    # Artifacts associated with our run
│   │   │   └── sklearn-model/
│   │   │       ├── python_env.yaml
│   │   │       ├── requirements.txt      # Python package requirements
│   │   │       ├── MLmodel               # MLflow model file with model metadata
│   │   │       ├── model.pkl             # Serialized model file
│   │   │       ├── input_example.json
│   │   │       └── conda.yaml
│   │   ├── tags/
│   │   │   ├── mlflow.user
│   │   │   ├── mlflow.source.git.commit
│   │   │   ├── mlflow.runName
│   │   │   ├── mlflow.source.name
│   │   │   ├── mlflow.log-model.history
│   │   │   └── mlflow.source.type
│   │   ├── params/
│   │   │   ├── max_depth
│   │   │   └── random_state
│   │   └── meta.yaml
│   └── meta.yaml
├── models/                               # Model Registry Directory
    ├── sk-learn-random-forest-reg-model/ # Registered model name
    │   ├── version-1/                    # Model version directory
    │   │   └── meta.yaml
    │   └── meta.yaml
The tracking server is organized by Experiment ID and Run ID and is responsible for storing our experiment artifacts, parameters, and metrics. The model registry, on the other hand, only stores metadata with pointers to our tracking server.
As you can see, flavors that support autologging provide lots of additional information out-of-the-box. Also note that even if we don’t have autologging for our model of interest, we can easily store this information with explicit logging calls.
One more interesting callout is that by default you get three way to manage your model’s
environment: python_env.yaml (python virtualenv), requirements.txt (PyPi requirements), and
conda.yaml (conda env).
Ok, now that we have a very high-level understanding of what is logged, let’s use the MLflow UI to view this information.
Step 2: Start the Tracking Server
In the same directory as your mlruns foder, run the below command.
mlflow server --host 127.0.0.1 --port 8080
[2024-02-05 12:43:10 -0500] [26393] [INFO] Starting gunicorn 20.1.0
[2024-02-05 12:43:10 -0500] [26393] [INFO] Listening at: http://127.0.0.1:8080 (26393)
[2024-02-05 12:43:10 -0500] [26393] [INFO] Using worker: sync
[2024-02-05 12:43:10 -0500] [26414] [INFO] Booting worker with pid: 26414
[2024-02-05 12:43:11 -0500] [26416] [INFO] Booting worker with pid: 26416
[2024-02-05 12:43:11 -0500] [26428] [INFO] Booting worker with pid: 26428
[2024-02-05 12:43:11 -0500] [26437] [INFO] Booting worker with pid: 26437
Step 3: View the Tracking Server
Assuming there are no errors, you can go to your web browser and visit http://localhost:8080 to
view the MLflow UI.
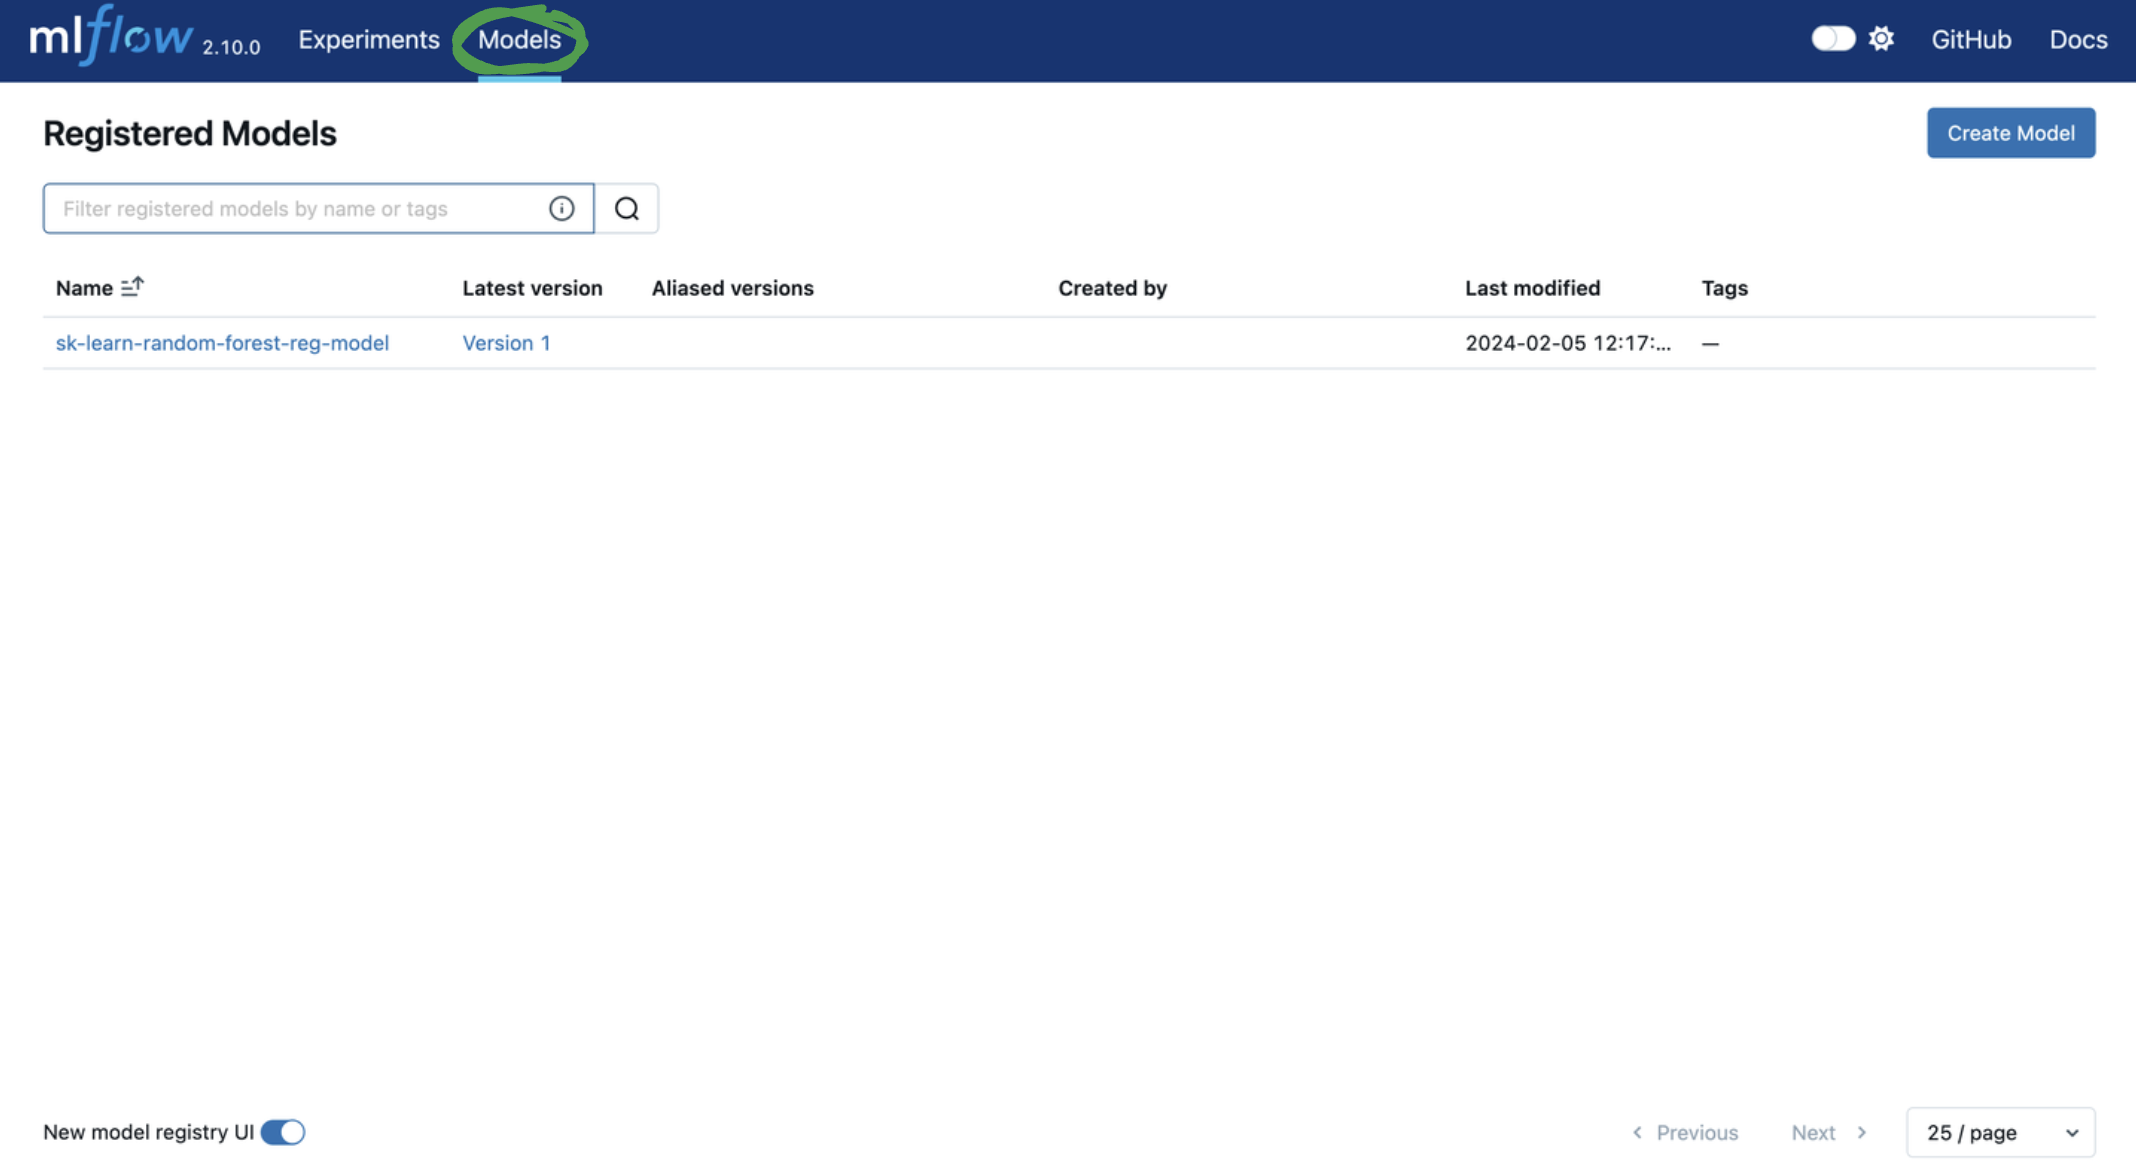
First, let’s leave the experiment tracking tab and visit the model registry.
Next, let’s add tags and a model version alias to
facilitate model deployment.
You can add or edit tags and aliases by clicking on the corresponding Add link or pencil icon in
the model version table. Let’s…
Add a model version tag with a key of
problem_typeand value ofregression.Add a model version alias of
the_best_model_ever.
