Creating Experiments
In the previous section, we became familiar with the MLflow Client and its search_experiments API.
Before we get into creating experiments and adding metadata tags to them, let’s take a brief look at the
MLflow UI.
In the first section of this tutorial, we started the MLflow Tracking Server from a command prompt, specifying the
host as 127.0.0.1 and the port as 8080. Let’s go to the UI and see what the Default Experiment looks like.
Viewing the MLflow UI
In order to see the MLflow UI, we simply have to use a web browser to connect to the MLflow Tracking Server and navigate to http://127.0.0.1:8080. Once navigating to the url for the MLflow UI, you will see the default experiment with no run data.
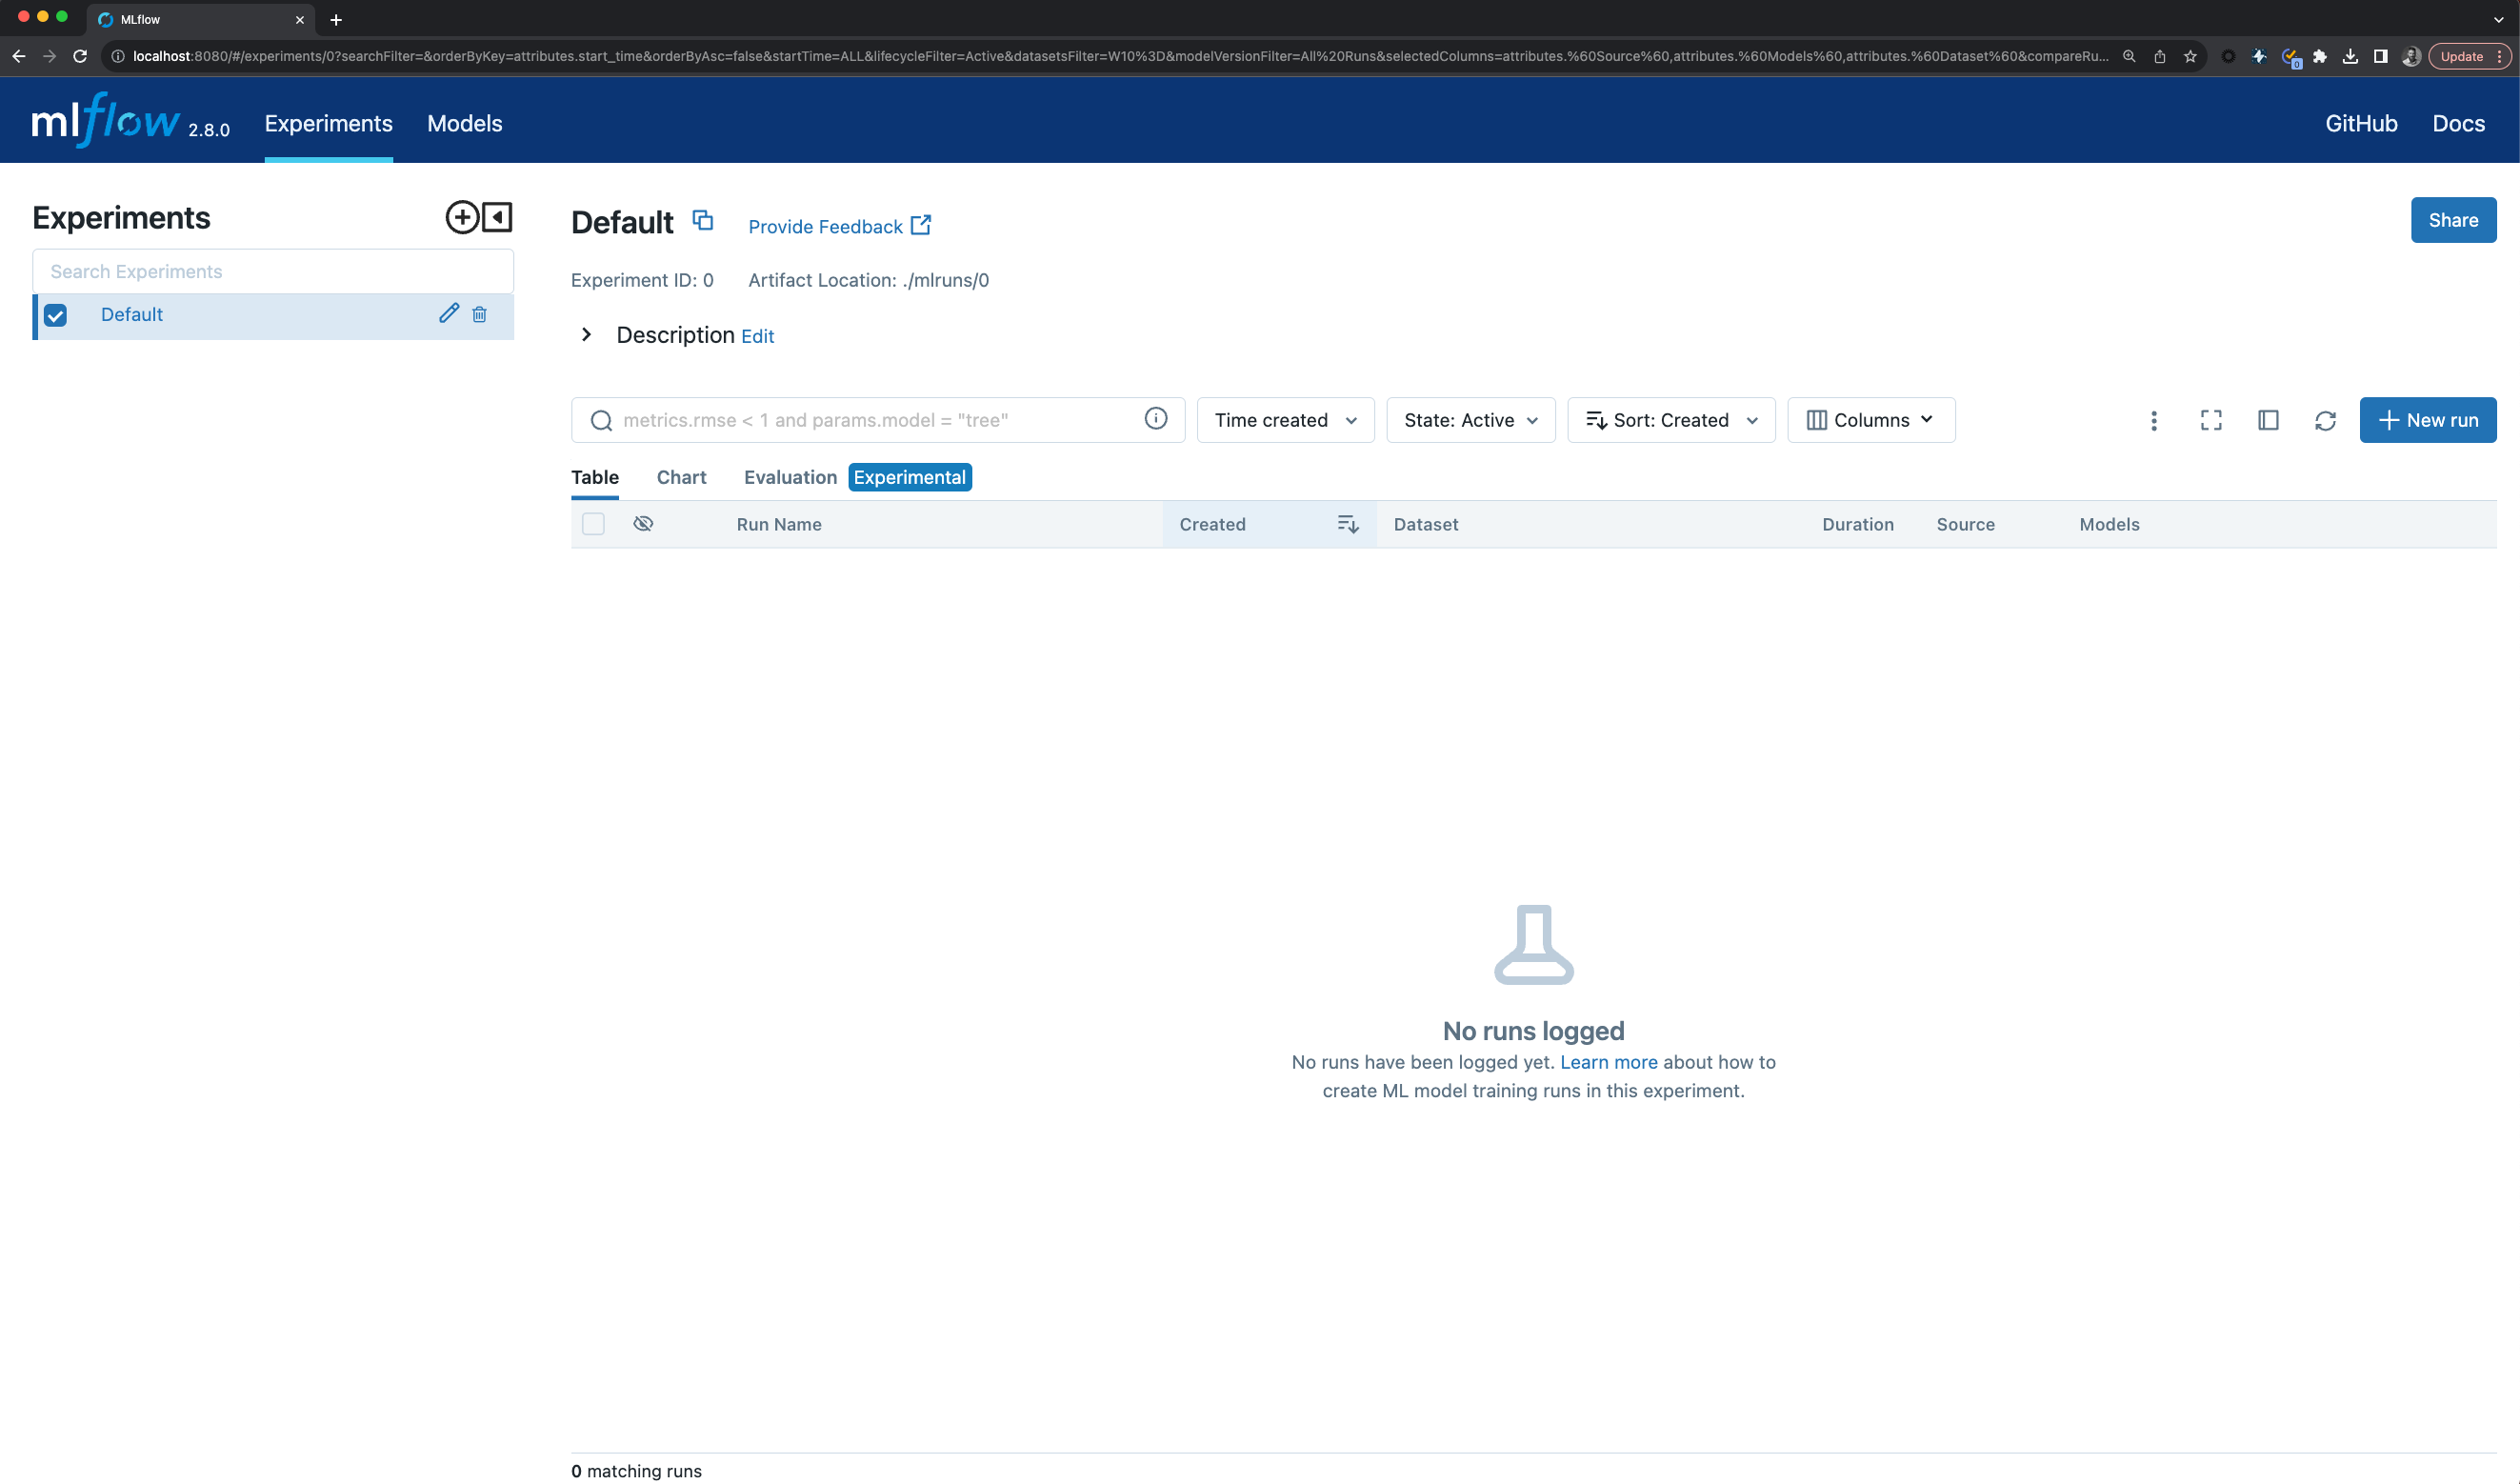
As you can see, there are no runs recorded and only the Default Experiment (with an ID of 0) is present. This won’t be the case for long, as we’re about to add a new Experiment.
Notes on Tags vs Experiments
While MLflow does provide a default experiment, it primarily serves as a ‘catch-all’ safety net for runs initiated without a specified active experiment. However, it’s not recommended for regular use. Instead, creating unique experiments for specific collections of runs offers numerous advantages, as we’ll explore below.
Benefits of Defining Unique Experiments:
1. Enhanced Organization: Experiments allow you to group related runs, making it easier to track and compare them. This is especially helpful when managing numerous runs, as in large-scale projects.
2. Metadata Annotation: Experiments can carry metadata that aids in organizing and associating runs with larger projects.
Consider the scenario below: we’re simulating participation in a large demand forecasting project. This project involves building forecasting models for various departments in a chain of grocery stores, each housing numerous products. Our focus here is the ‘produce’ department, which has several distinct items, each requiring its own forecast model. Organizing these models becomes paramount to ensure easy navigation and comparison.
When Should You Define an Experiment?
The guiding principle for creating an experiment is the consistency of the input data. If multiple runs use the same input dataset (even if they utilize different portions of it), they logically belong to the same experiment. For other hierarchical categorizations, using tags is advisable.
Example:
Consider the following structure of the models, mapped to the business product hierarchy:
Here, the produce and dairy departments are part of the same overarching project, but they rely on distinct datasets and will likely produce different model metrics. Grouping the departments together definitely doesn’t make sense.
However, the temptation might arise to group all produce together. Grouping diverse items like apples, cherries, and carrots under a single experiment could dilute the effectiveness of run comparisons within that experiment. Thus, it’s essential to demarcate clear boundaries for your experiments to ensure meaningful insights.
Note
While the business product hierarchy in this case doesn’t explicitly need to be captured within the tags, there is nothing preventing you from doing so. There isn’t a limit to the number of tags that you can apply. Provided that the keys being used are consistent across experiments and runs to permit search to function properly, any number of arbitrary mappings between tracked models and your specific business rules can be applied.
To apply these boundaries effectively, as is shown in the figure below, tags should be employed.

Creating the Apples Experiment with Meaningful tags
# Provide an Experiment description that will appear in the UI
experiment_description = (
    "This is the grocery forecasting project. "
    "This experiment contains the produce models for apples."
)

# Provide searchable tags that define characteristics of the Runs that
# will be in this Experiment
experiment_tags = {
    "project_name": "grocery-forecasting",
    "store_dept": "produce",
    "team": "stores-ml",
    "project_quarter": "Q3-2023",
    "mlflow.note.content": experiment_description,
}

# Create the Experiment, providing a unique name
produce_apples_experiment = client.create_experiment(
    name="Apple_Models", tags=experiment_tags
)
In the next section, we’ll take a look at what these tags can be used for, which are visible in the UI,
and how we can leverage the power of tags to simplify access to experiments that are part of a
larger project.