Logging our first runs with MLflow
In our previous segments, we worked through setting up our first MLflow Experiment and equipped it with custom tags. These tags, as we’ll soon discover, are instrumental in seamlessly retrieving related experiments that belong to a broader project.
In the last section, we created a dataset that we’ll be using to train a series of models.
As we advance in this section, we’ll delve deeper into the core features of MLflow Tracking:
Making use of the
start_runcontext for creating and efficiently managing runs.An introduction to logging, covering tags, parameters, and metrics.
Understanding the role and formation of a model signature.
Logging a trained model, solidifying its presence in our MLflow run.
But first, a foundational step awaits us. For our upcoming tasks, we need a dataset, specifically focused on apple sales. While it’s tempting to scour the internet for one, crafting our own dataset will ensure it aligns perfectly with our objectives.
Crafting the Apple Sales Dataset
Let’s roll up our sleeves and construct this dataset.
We need a data set that defines the dynamics of apple sales influenced by various factors like weekends, promotions, and fluctuating prices. This dataset will serve as the bedrock upon which our predictive models will be built and tested.
Before we get to that, though, let’s take a look at what we’ve learned so far and how these principles were used when crafting this data set for the purposes of this tutorial.
Using Experiments in early-stage project development
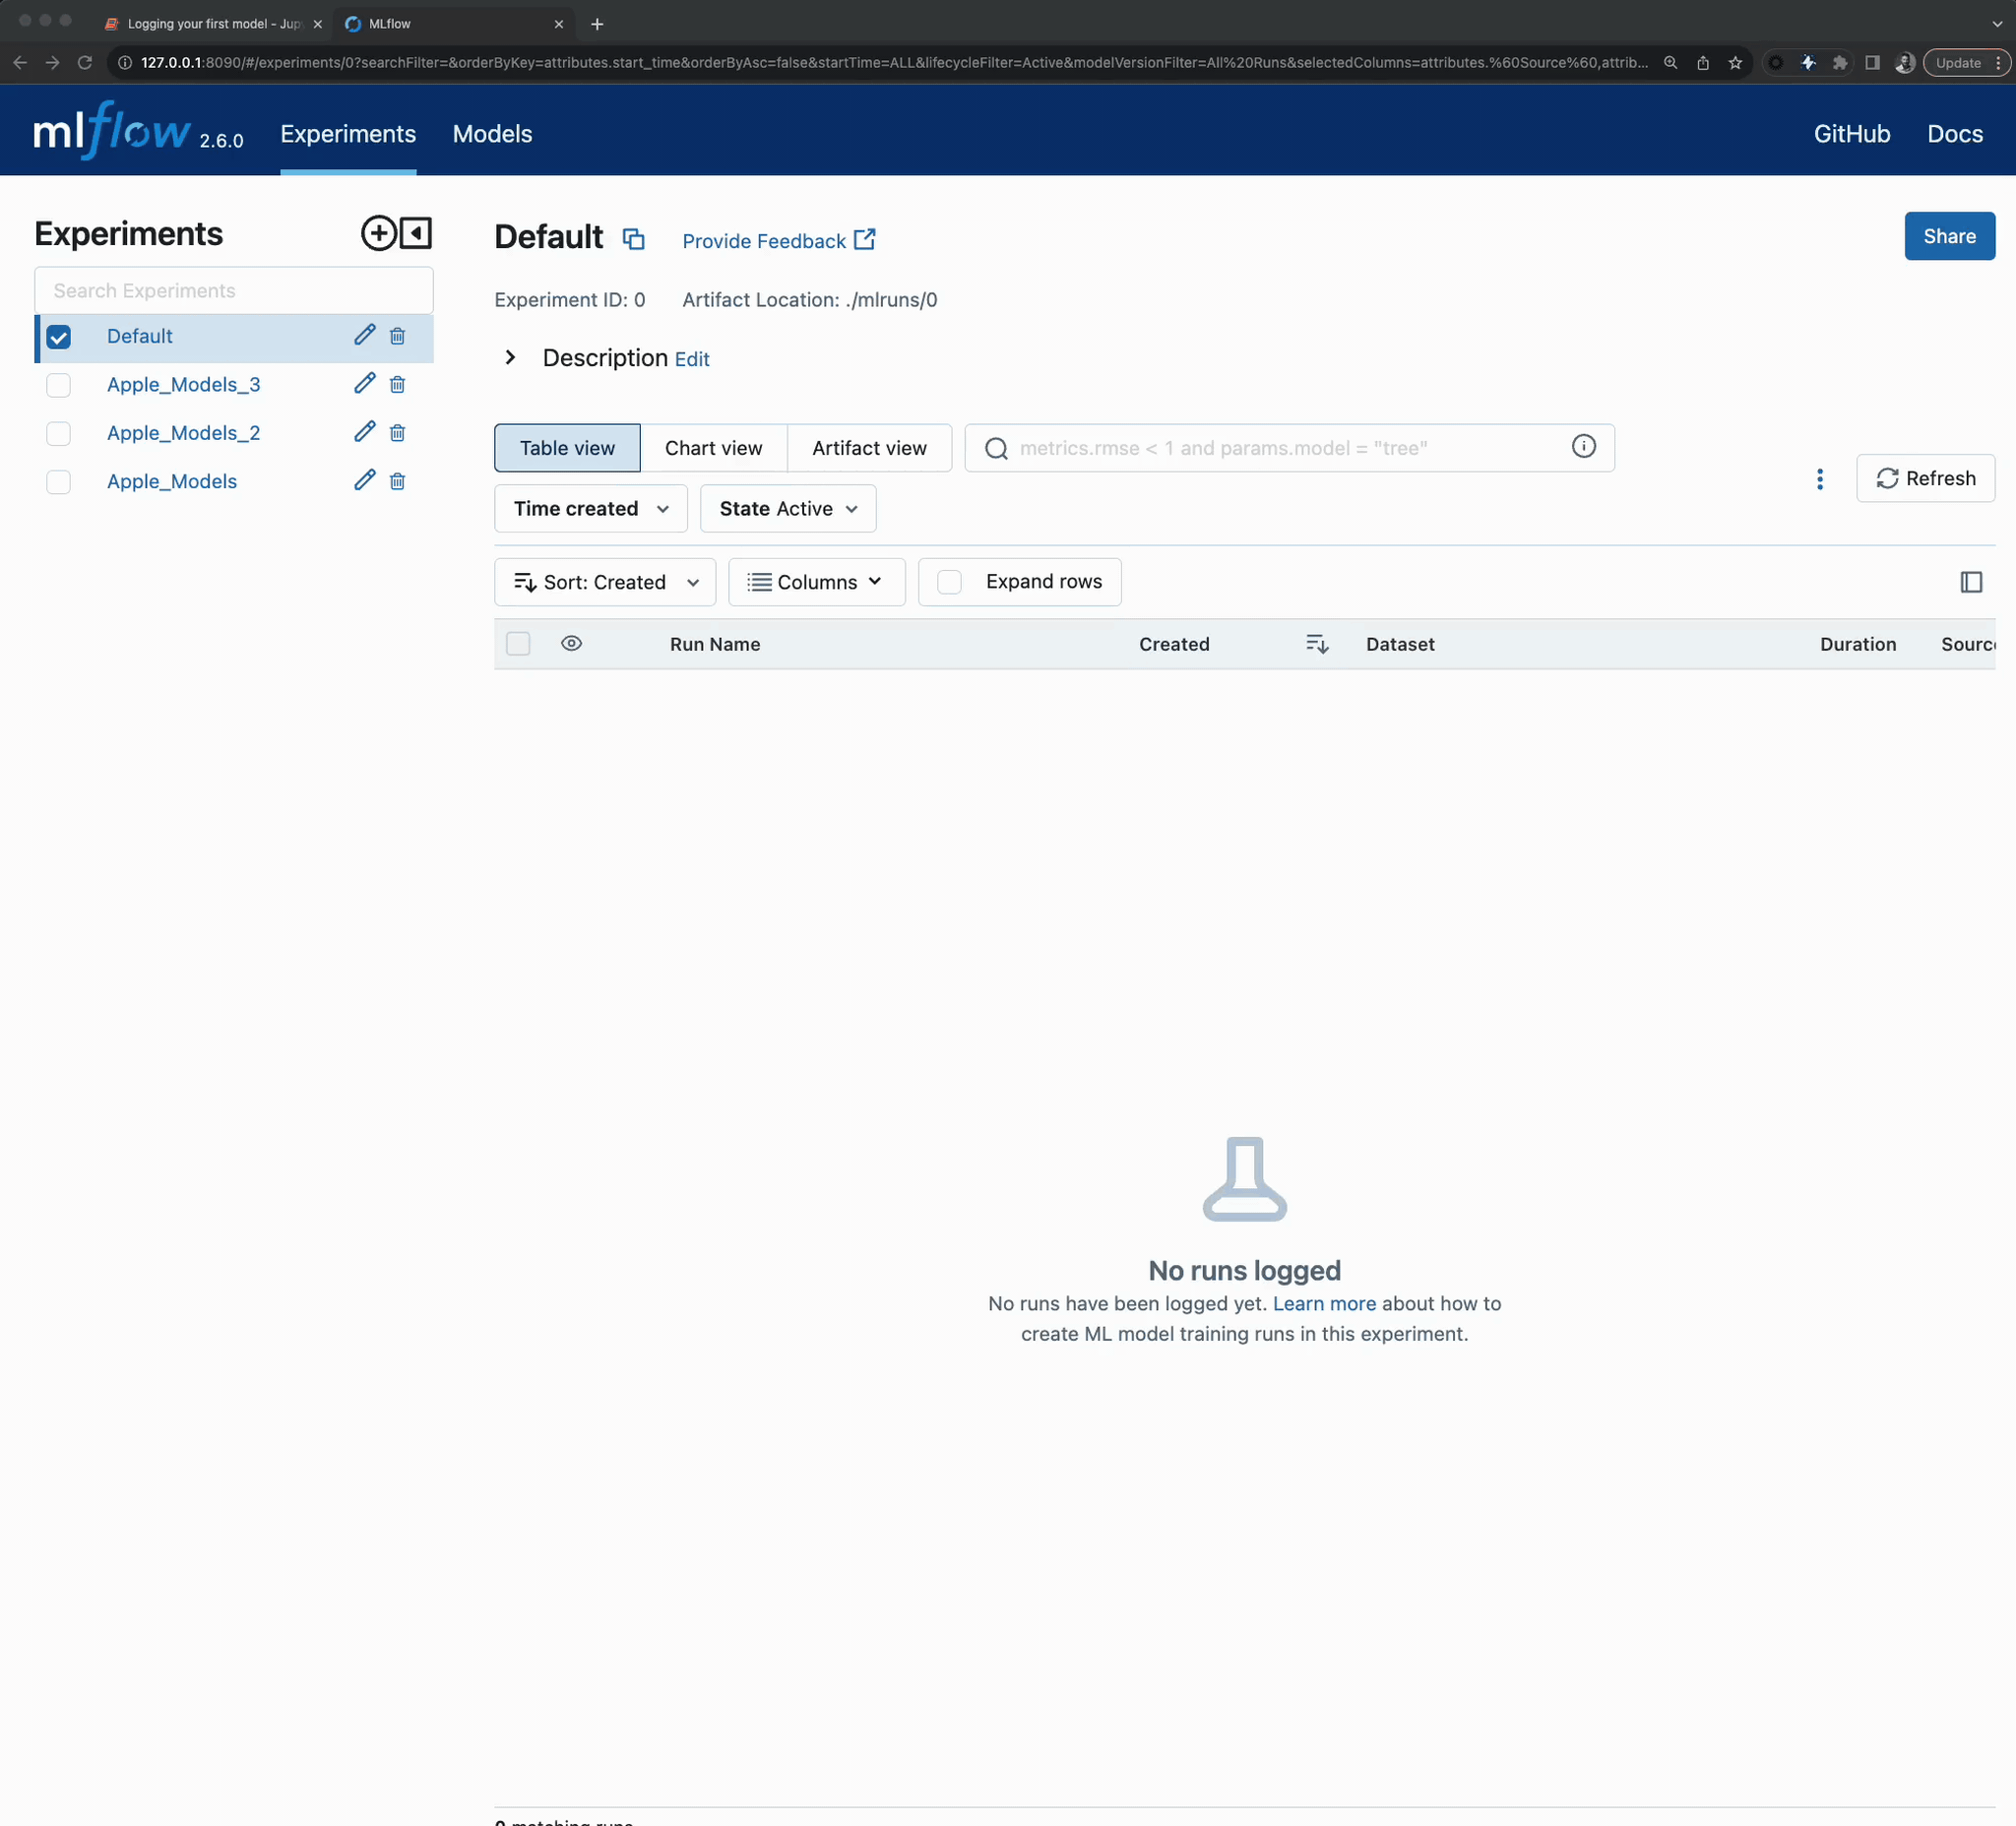
As the diagram below shows, I tried taking a series of shortcuts. In order to record what I was trying, I created a new MLflow Experiment to record the state of what I tried. Since I was using different data sets and models, each subsequent modification that I was trying necessitated a new Experiment.

After finding a workable approach for the dataset generator, the results can be seen in the MLflow UI.
Once I found something that actually worked, I cleaned everything up (deleted them).
Note
If you’re precisely following along to this tutorial and you delete your Apple_Models
Experiment, recreate it before proceeding to the next step in the tutorial.
Using MLflow Tracking to keep track of training
Now that we have our data set and have seen a little bit of how runs are recorded, let’s dive in to using MLflow to tracking a training iteration.
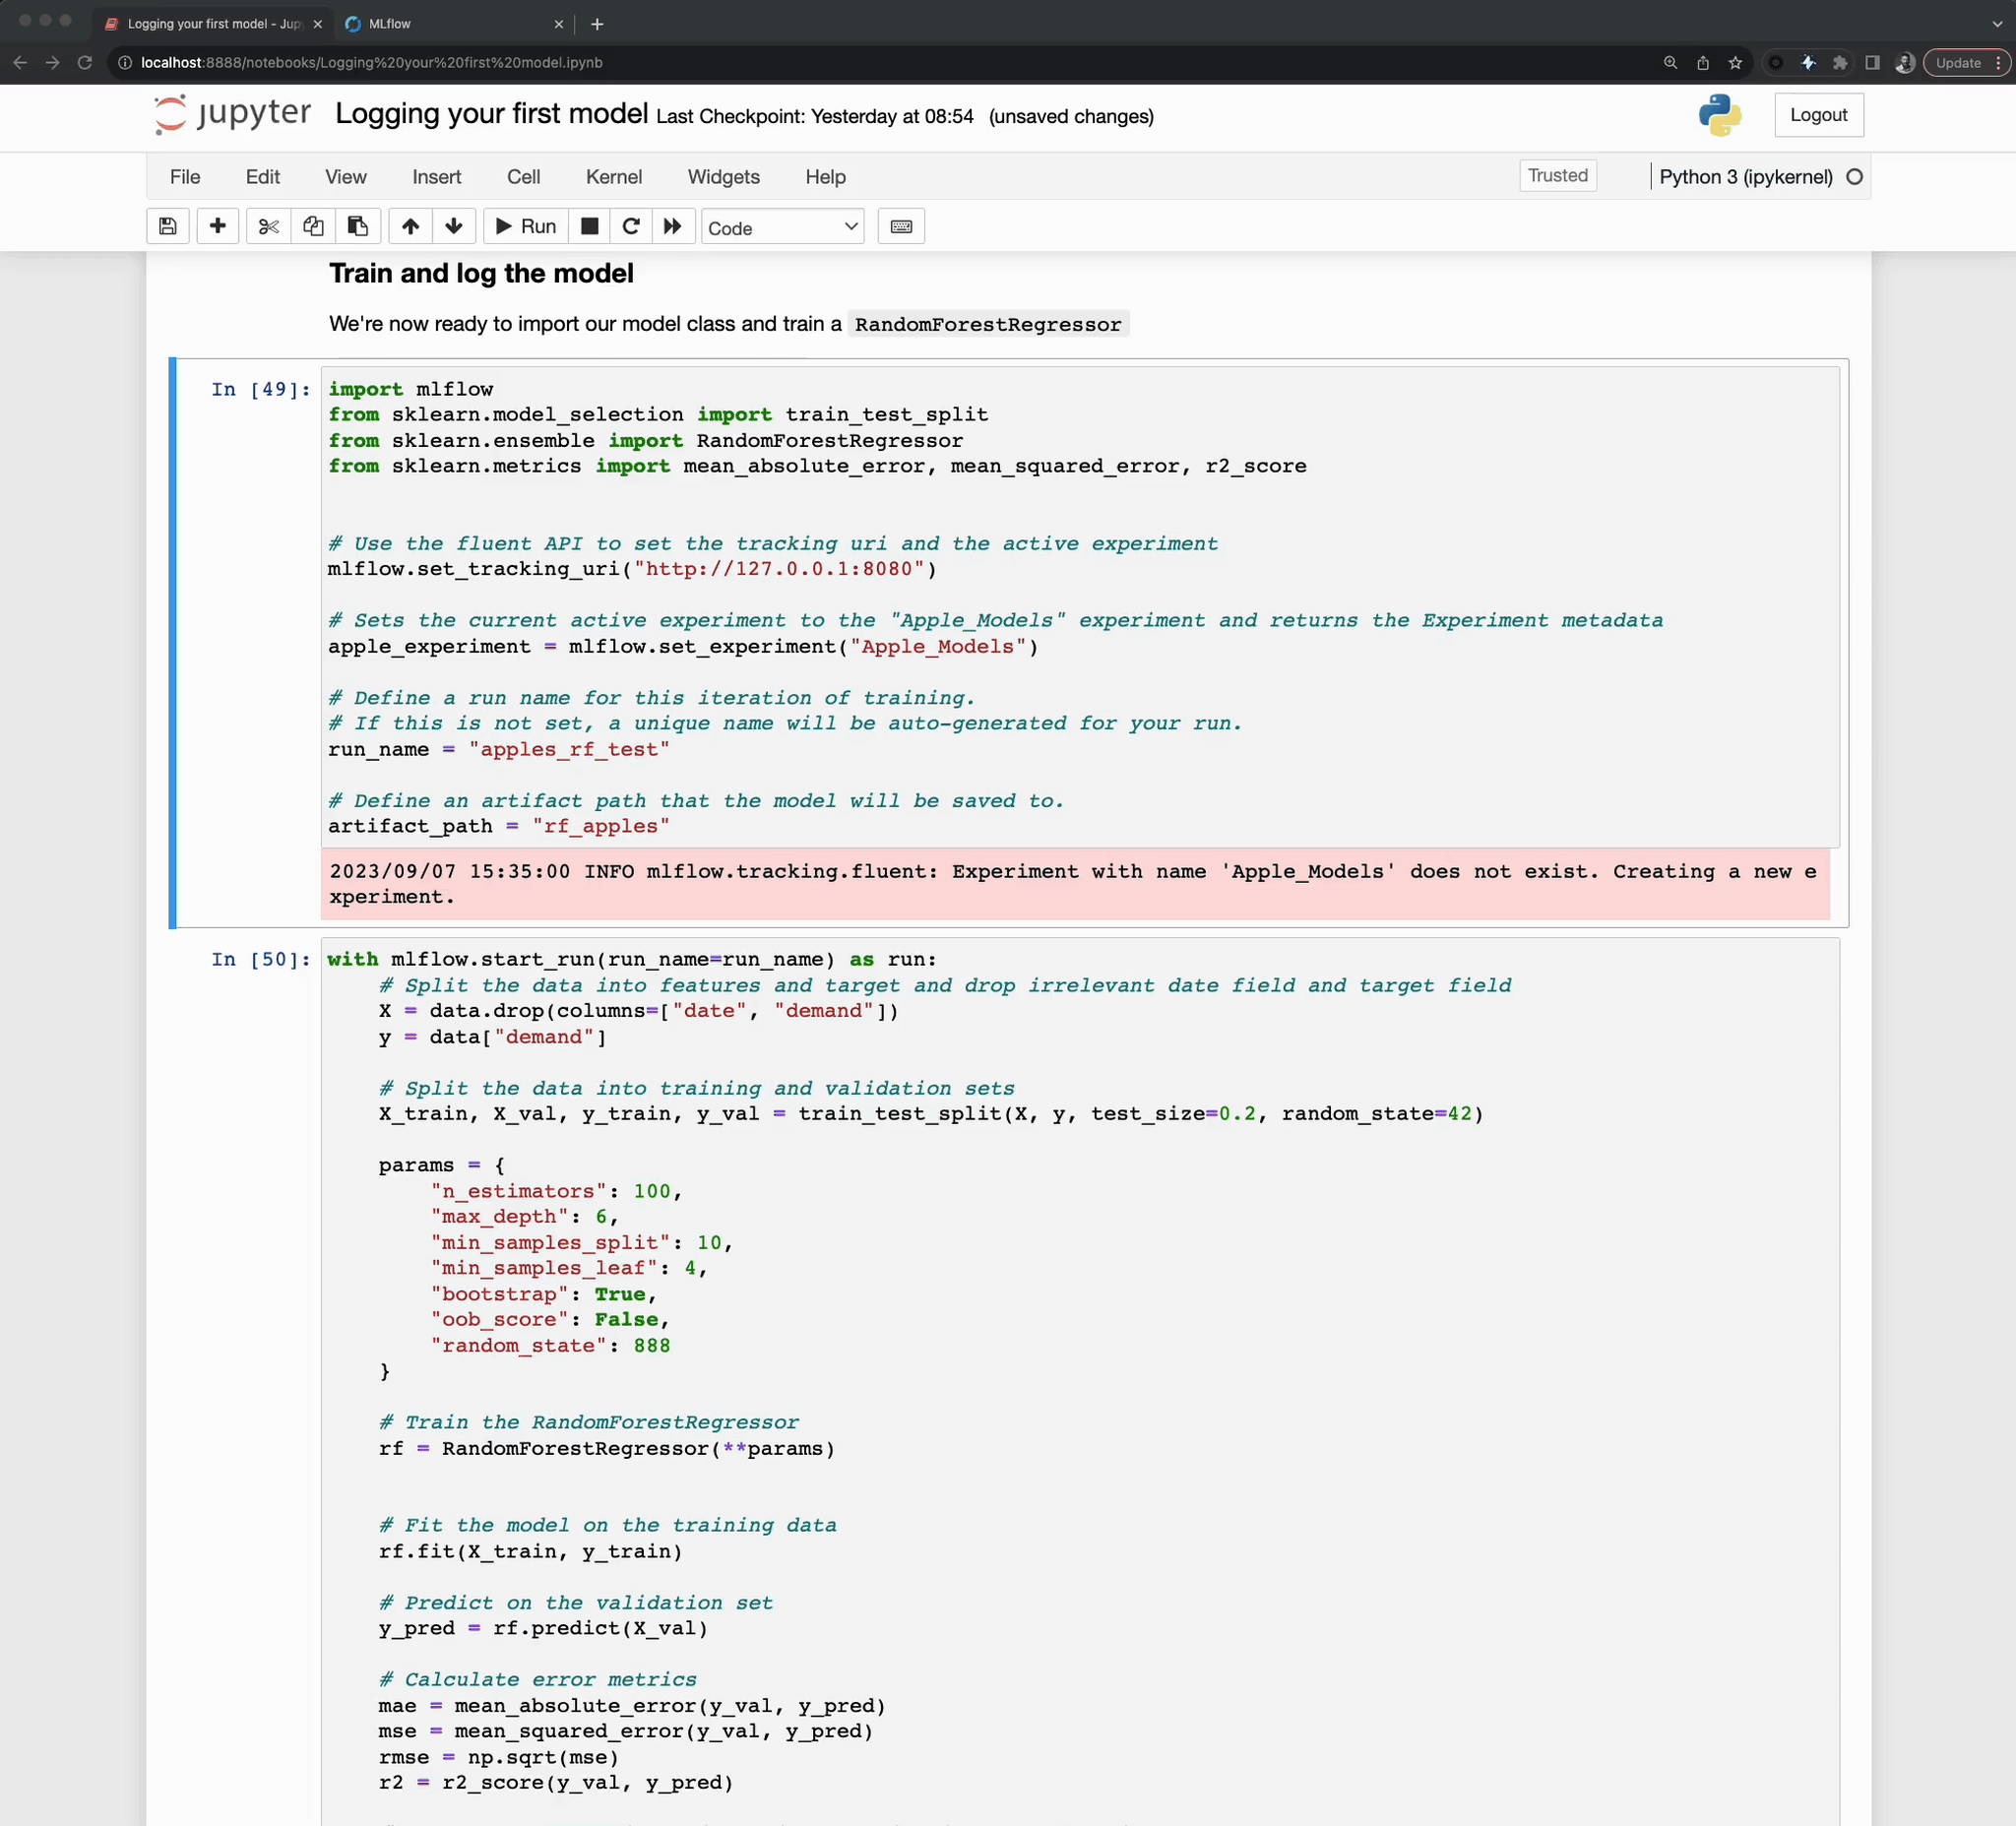
To start with, we will need to import our required modules.
import mlflow
from sklearn.model_selection import train_test_split
from sklearn.ensemble import RandomForestRegressor
from sklearn.metrics import mean_absolute_error, mean_squared_error, r2_score
Notice that here we aren’t importing the MlflowClient directly. For this portion, we’re going to
be using the fluent API. The fluent APIs use a globally referenced state of the MLflow tracking
server’s uri. This global instance allows for us to use these ‘higher-level’ (simpler) APIs to perform
every action that we can otherwise do with the MlflowClient, with the addition of some other useful
syntax (such as context handlers that we’ll be using very shortly) to make integrating MLflow to
ML workloads as simple as possible.
In order to use the fluent API, we’ll need to set the global reference to the Tracking server’s
address. We do this via the following command:
mlflow.set_tracking_uri("http://127.0.0.1:8080")
Once this is set, we can define a few more constants that we’re going to be using when logging our training events to MLflow in the form of runs. We’ll start by defining an Experiment that will be used to log runs to. The parent-child relationship of Experiments to Runs and its utility will become very clear once we start iterating over some ideas and need to compare the results of our tests.
# Sets the current active experiment to the "Apple_Models" experiment and
# returns the Experiment metadata
apple_experiment = mlflow.set_experiment("Apple_Models")

# Define a run name for this iteration of training.
# If this is not set, a unique name will be auto-generated for your run.
run_name = "apples_rf_test"

# Define an artifact path that the model will be saved to.
artifact_path = "rf_apples"
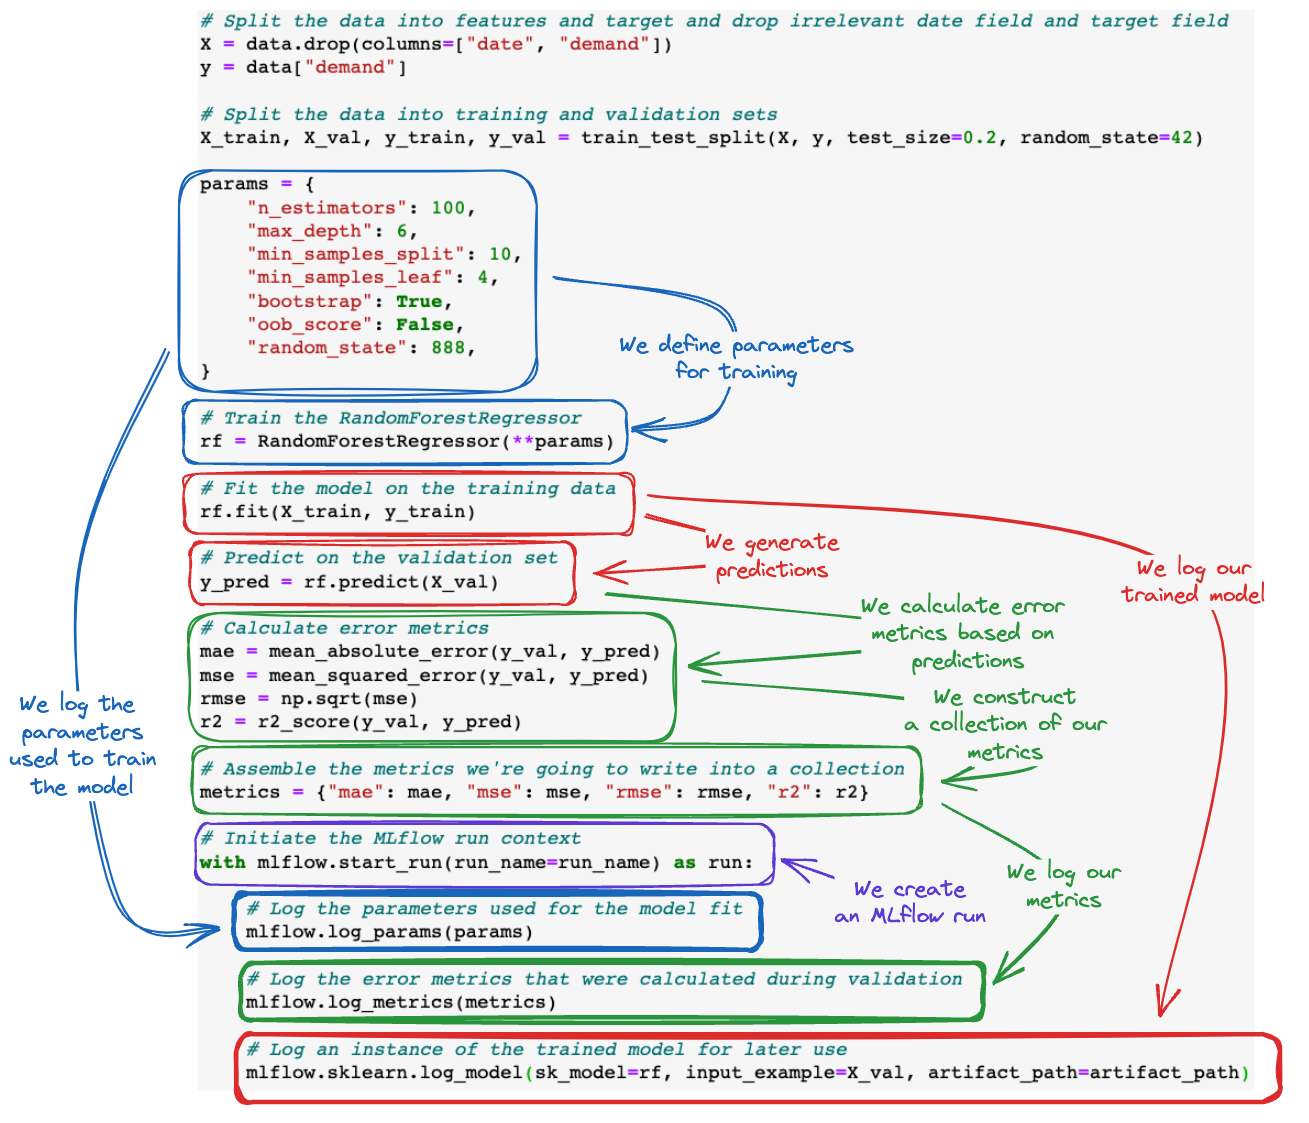
With these variables defined, we can commence with actually training a model.
Firstly, let’s look at what we’re going to be running. Following the code display, we’ll look at an annotated version of the code.
# Split the data into features and target and drop irrelevant date field and target field
X = data.drop(columns=["date", "demand"])
y = data["demand"]

# Split the data into training and validation sets
X_train, X_val, y_train, y_val = train_test_split(X, y, test_size=0.2, random_state=42)

params = {
    "n_estimators": 100,
    "max_depth": 6,
    "min_samples_split": 10,
    "min_samples_leaf": 4,
    "bootstrap": True,
    "oob_score": False,
    "random_state": 888,
}

# Train the RandomForestRegressor
rf = RandomForestRegressor(**params)

# Fit the model on the training data
rf.fit(X_train, y_train)

# Predict on the validation set
y_pred = rf.predict(X_val)

# Calculate error metrics
mae = mean_absolute_error(y_val, y_pred)
mse = mean_squared_error(y_val, y_pred)
rmse = np.sqrt(mse)
r2 = r2_score(y_val, y_pred)

# Assemble the metrics we're going to write into a collection
metrics = {"mae": mae, "mse": mse, "rmse": rmse, "r2": r2}

# Initiate the MLflow run context
with mlflow.start_run(run_name=run_name) as run:
    # Log the parameters used for the model fit
    mlflow.log_params(params)

    # Log the error metrics that were calculated during validation
    mlflow.log_metrics(metrics)

    # Log an instance of the trained model for later use
    mlflow.sklearn.log_model(
        sk_model=rf, input_example=X_val, artifact_path=artifact_path
    )
To aid in visualizing how MLflow tracking API calls add in to an ML training code base, see the figure below.